Build a drawing one step at a time
Follow 12 illustrated steps to draw a kitten, rose, butterfly, eye, pony, dragon, or landscape. The lessons below use artwork from AR Drawing: Learn to Sketch, so you can preview each stage here and continue practicing with the app.

Free to download. Optional in-app purchases.
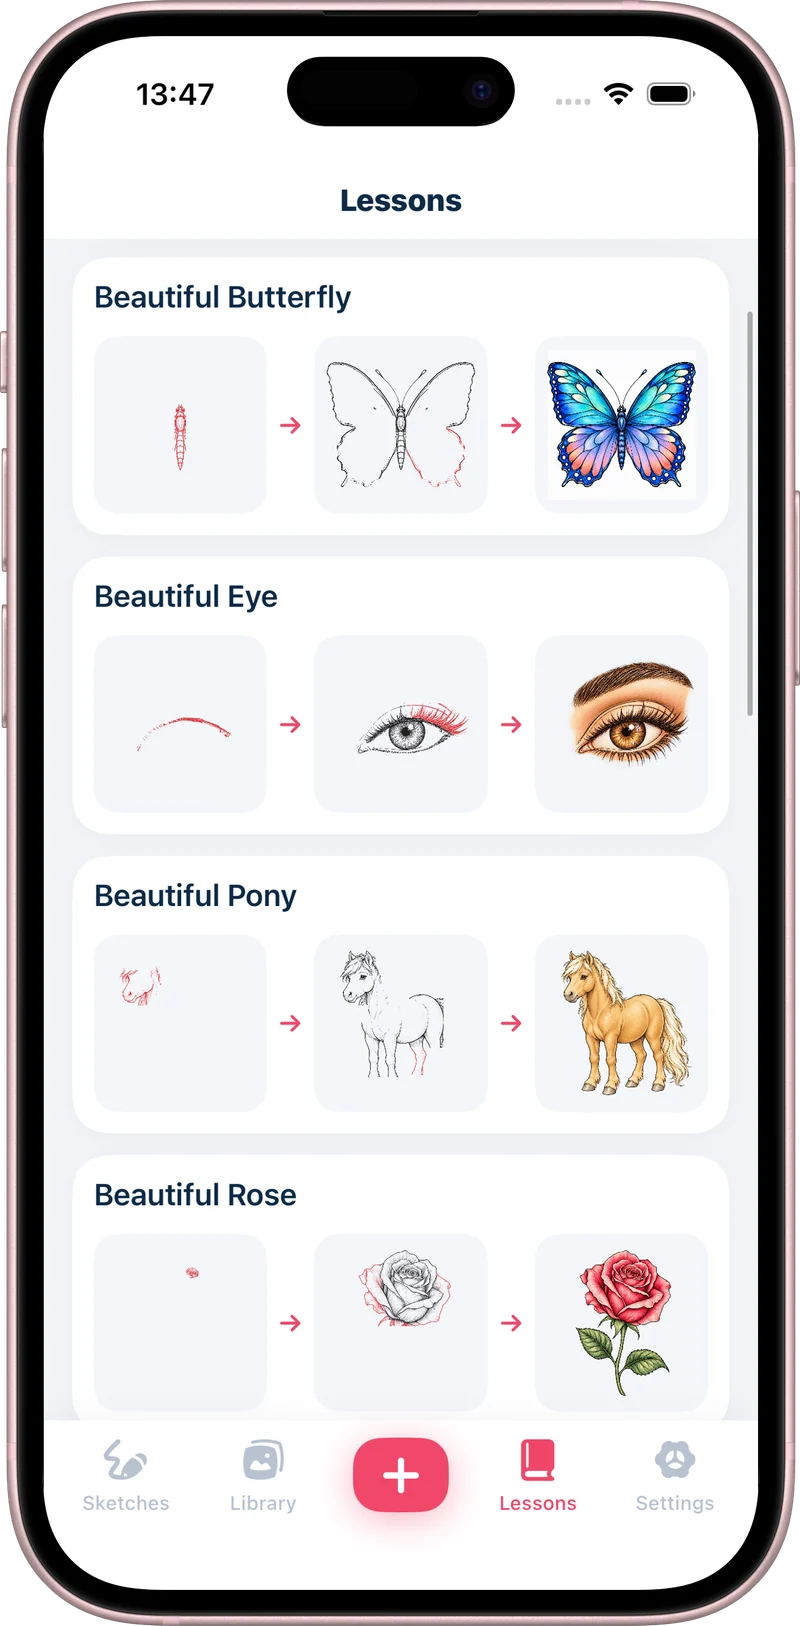
Meet your next drawing.
Explore 12 illustrated lessons from the app. Each starts with line work and finishes with a colored reference.
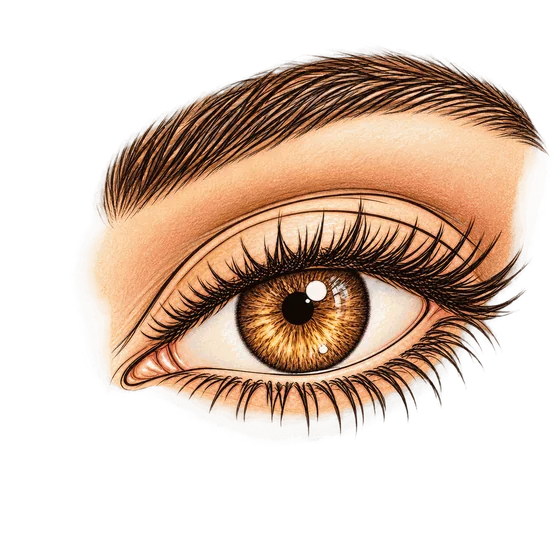
Beautiful Eye
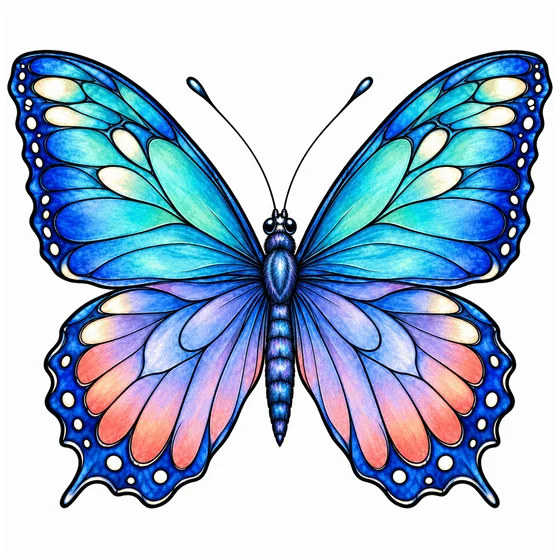
Beautiful Butterfly

Full Man Body

Girl Face

Halloween Pumpkin

Cozy House

Man's Face

Mountain and Lake Landscape

Original Dragon

Beautiful Pony

Beautiful Rose

Sitting Kitten
How to get started
- Pick a subject with a clear outline.
- Draw its largest shapes with light pencil marks.
- Add the details in the order shown.
- Repeat the subject and compare the proportions.
Begin with the biggest shapes
An oval head, a rounded body, or a simple petal gives you a structure to build on. Starting with these shapes makes it easier to check the space around the subject before investing time in details.
Our website lessons show a new part of the drawing at each step. Follow them in pencil, leave your first marks light, and compare the result after every stage. They are original website lessons; the in-app lesson catalog may differ.
Choose one small skill to practice
Use the cat lesson to compare matching features, the daisy to practice repeated curves, or the butterfly to study balance across a center line. One focused exercise is easier to evaluate than a page where everything changes at once.
When you finish, name one thing you would change next time. It might be the spacing of the eyes or the width of a petal. Repeat the drawing with that single change in mind.
Try the same subject without a guide
After following a lesson, draw the subject again on a fresh part of the page. Look back at the reference only when you need to check a shape. This makes the difference between recognizing a line and choosing where to put it more visible.
You do not have to finish a complicated picture to have a useful practice session. A few careful shapes and a short comparison can give you a clear next step.
Before you start
Can I use the website tutorials without the app?
Yes. The illustrated cat, daisy, and butterfly lessons on this website are free to read and follow with pencil and paper. Downloading the app is optional.
Are the website lessons the same as the app lessons?
The website has its own original tutorials. The App Store listing confirms that the app includes step-by-step lessons, but the in-app catalog and access can change.
Keep learning
Tracing vs. freehand drawing: how to practice both
Try a free illustrated drawing tutorial, or find a subject in our drawing ideas hub.