How to draw a butterfly, step by step
Start with a slim body, add two large upper wings and two smaller lower wings, then repeat a simple pattern on both sides. A front-facing butterfly is a gentle introduction to symmetry. You are aiming for a balanced drawing, not two mechanically identical halves.

What you’ll need
- A sheet of plain paper
- An HB pencil
- An eraser
- Optional: colored pencils
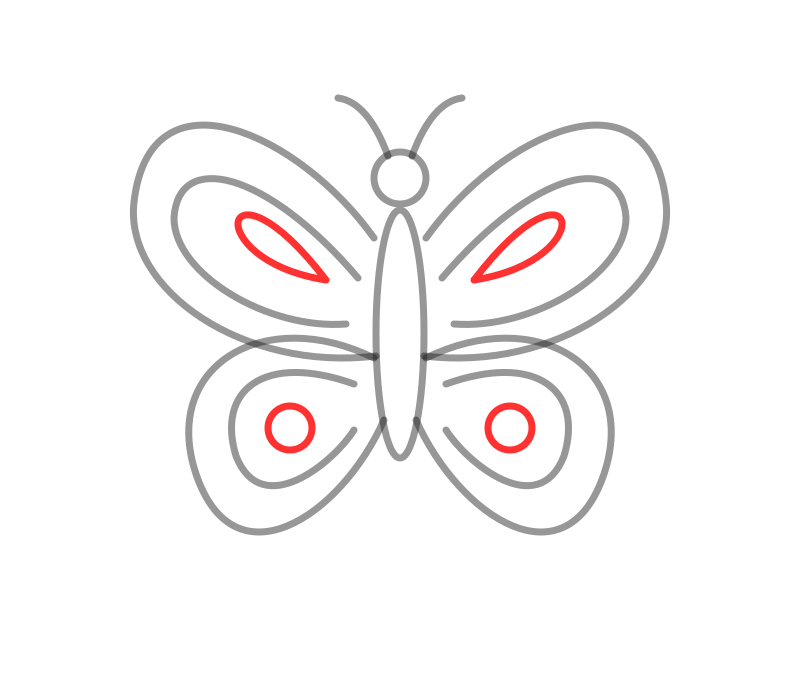
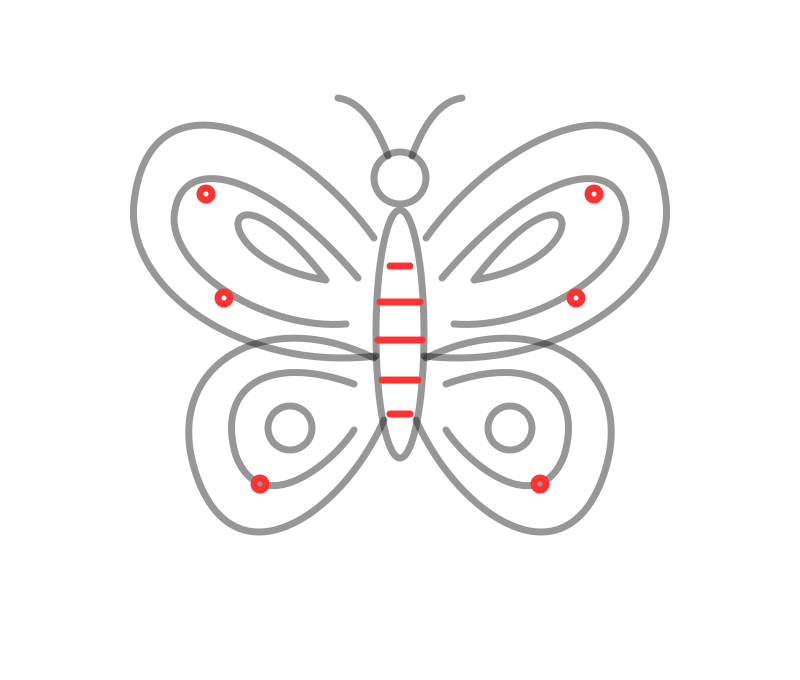
In each illustration, the red lines show what to add. Faded gray lines show the parts you have already drawn.
1Set up the body
Lightly draw a vertical center line in the middle of your page. Add a small circle near the top for the head and a long, narrow oval below for the body. Leave generous space on both sides so the wings do not run into the edge of the paper.
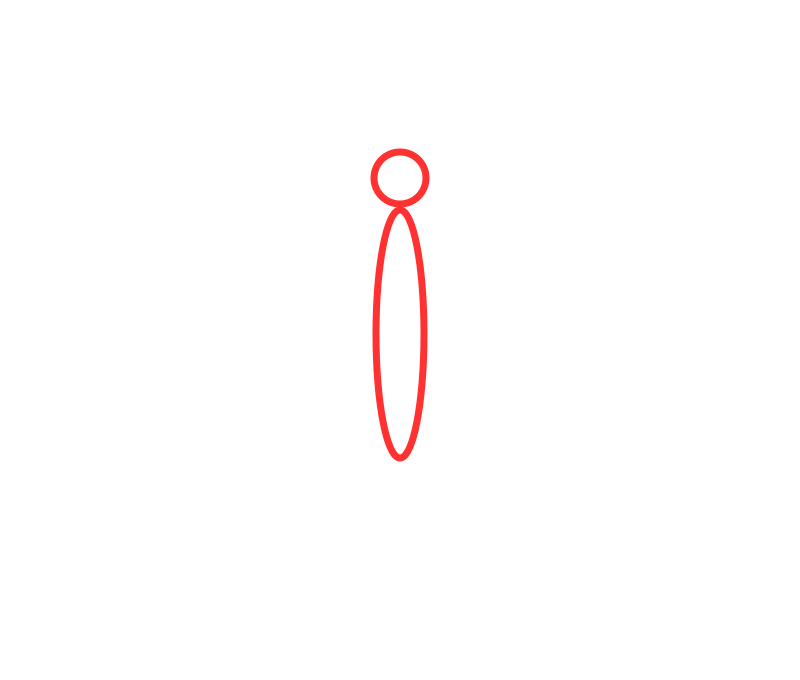
Pencil tip: Keep the body slim. The wings will make up most of the width of the butterfly.
2Draw the upper pair of wings
From just below the head, curve a line upward and outward on one side, then sweep it down toward the middle of the body. Repeat on the other side. These upper wings should be broad near the top and narrower where they join the body.
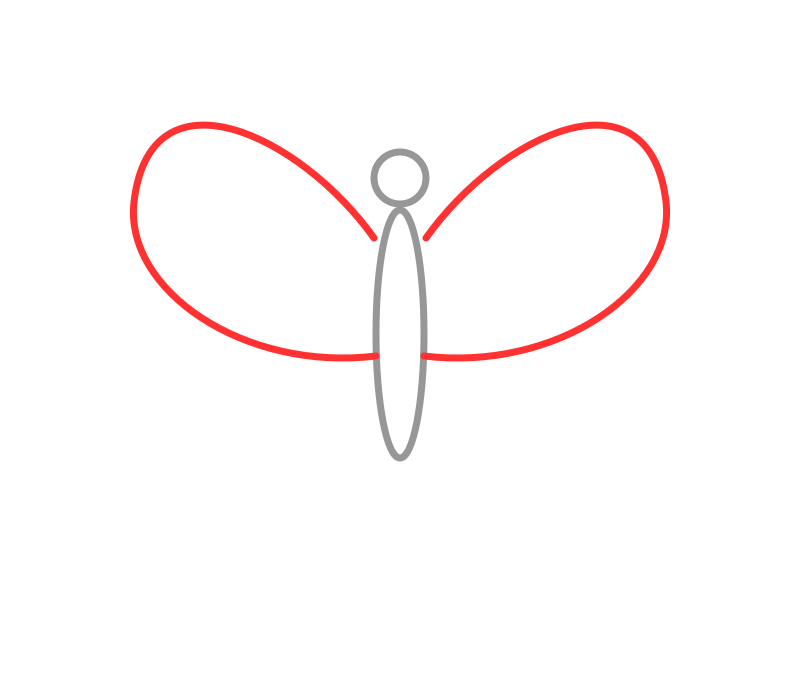
Pencil tip: Check the highest and widest points of each wing against one another.
3Add the lower wings
Draw a smaller rounded wing below each upper wing. Let each one begin near the middle of the body and return near its base. Keep the outside curve soft. The join between the upper and lower wings can have a shallow notch.
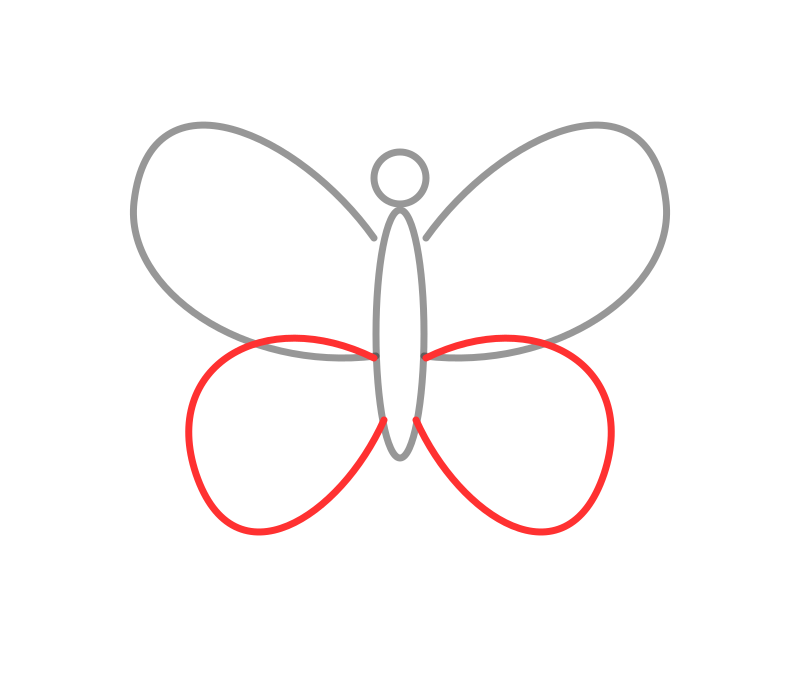
Pencil tip: The lower wings can be about half as tall as the upper pair.
4Add antennae and an inner border
Draw two fine antennae curving away from the head, each with a tiny round tip. Then follow the outer curve of each wing with a lighter inner line. Leave an even gap between the outline and this new border.
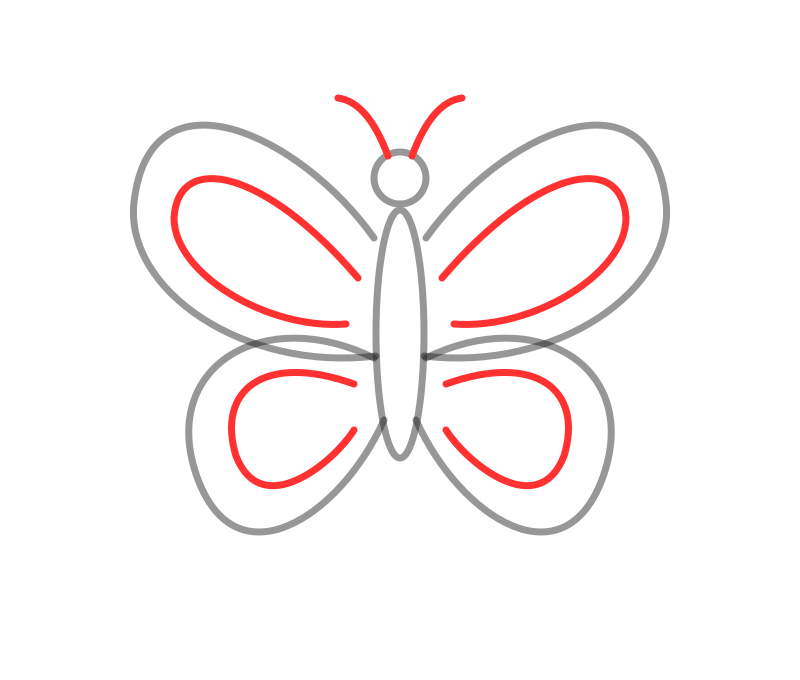
Pencil tip: An inner border is optional. If it feels cramped, make the wings larger before adding it.
5Repeat a simple wing pattern
Add an elongated loop inside each upper wing and a small circle inside each lower wing. Repeat the position of each shape on the opposite side. Leave open space around the pattern so the silhouette stays clear.
Pencil tip: Place the big shapes first. Tiny spots are much easier to fit around them afterward.
6Refine the outline and color
Erase the center guide and any overlaps at the body. Darken the outside edges and add a few small spots near the wing tips. Choose two or three colors and repeat them on both sides. Leave some areas pale to keep contrast between the pattern and the wing.
Pencil tip: Try a second butterfly with different markings rather than adding more detail to this one.
A few easy fixes
- One wing sits higher: compare the top and bottom points against the center line.
- The body feels too wide: reduce it before you add the inner patterns.
- Too many tiny marks: keep a few larger shapes and leave open space.
Make your next version your own
Repeat the butterfly with wider upper wings and rounder lower wings. Then use the same outline with a different pattern. This separates two skills: controlling the overall shape and designing details inside it. You can trace the outline first and invent the markings yourself.
Want a guide while you work? Learn about AR camera tracing, or try the trace, observe, and recall exercise to practice without an overlay.
Save the outline for practice
Download our original SVG outline for personal drawing practice. Print it, follow it beside your sketchbook, or use it as a reference in a drawing app. The outline can be resized without losing line quality.
Download butterfly outlineQuestions about this drawing
How do I make butterfly wings symmetrical?
Start with a light vertical center line. Compare the height and width of matching wings, then check the distance from their widest points to the body. Adjust the large shapes before adding small markings.
Is this a scientifically accurate butterfly?
This lesson is a stylized drawing exercise, not an identification guide for a particular species. To draw a real species, compare its wing shape and markings with a reliable photograph or field guide.
Lesson and illustrations created for this website by AR Drawing editorial. This is an independent website exercise; availability of subjects and lessons inside the app may differ. About our editorial approach.
Keep your pencil moving
 6 simple steps
A curious little cat
Simple shapes. A few details. Your own little sketch.
 6 simple steps
A simple, happy daisy
Simple shapes. A few details. Your own little sketch.
Not sure what to draw next?
Find a small idea for a short session, from everyday objects to nature studies.
Explore drawing ideas